
Painting for Health: Understanding Low-VOC and Eco-Friendly Paint Options
November 19, 2023
The Right Finish: Understanding Matte, Satin, Semi-Gloss, High-Gloss Paints
January 29, 2024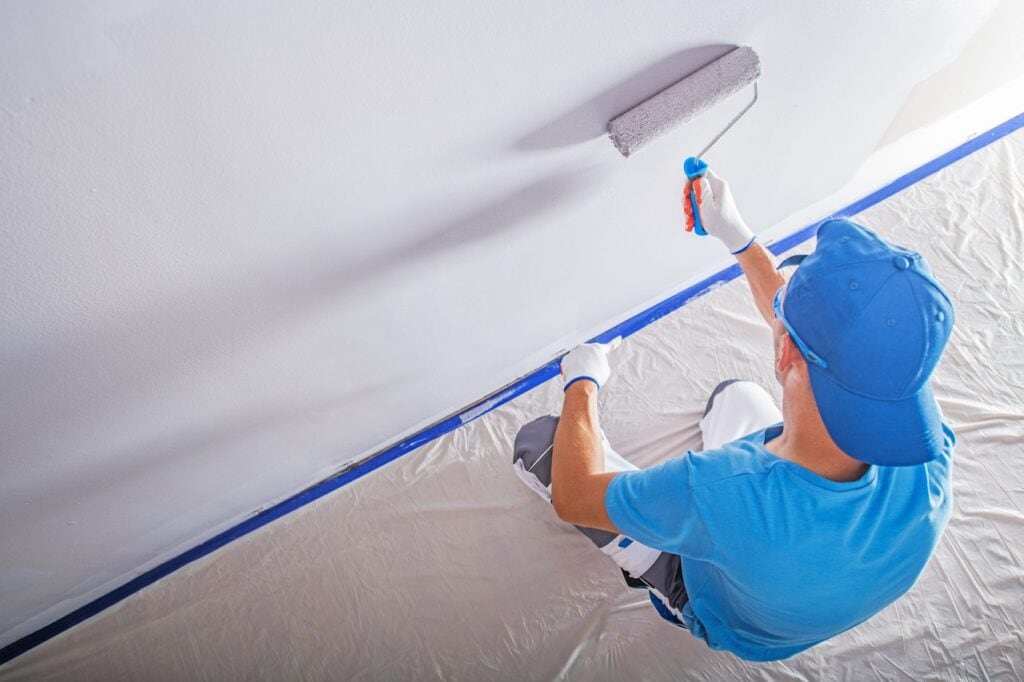
Just as a skilled artist prepares their canvas meticulously before commencing their masterpiece, so too must you prepare your home before embarking on a professional paint job. The key to achieving a flawless and long-lasting finish lies in thorough preparation. From clearing the space to repairing imperfections, each step contributes to the canvas that will showcase the beauty of your freshly painted walls. Join us on this artistic journey as we unveil a step-by-step guide to preparing your home for a professional paint job.
Step 1: Clear the Canvas
Clearing the canvas is the first step in the preparation process. Remove furniture, decor, and any items that obstruct the walls and surfaces to be painted. This creates a blank canvas for the painter and prevents any accidental spills or damage to your belongings during the painting process.
Step 2: Patch and Repair Imperfections
Every masterpiece demands a smooth and flawless canvas, and the same holds true for your walls. Inspect the surfaces for cracks, holes, and imperfections. Use a putty knife to patch and repair any blemishes with spackling compound or filler. Sand down the patched areas for a seamless finish, ensuring your walls are ready to receive the paint with grace.
Step 3: Cleanse the Palette
Just as a painter wipes away dust and dirt from their canvas, clean your walls to ensure optimal paint adhesion. Dust, grease, and grime can hinder the paint from adhering correctly, leading to uneven and short-lived results. Use a mild detergent and warm water to wash the walls, and rinse thoroughly to create a clean palette for the paint.
Step 4: Tape and Protect
Tape off areas that you don’t want to be painted, such as trims, windows, and baseboards. Painter’s tape is a valuable tool that allows for precise lines and protects areas you want to keep free from paint. Take the time to carefully apply the tape, ensuring it adheres firmly to the surface to prevent any paint bleed-through.
Step 5: Prime the Canvas
In the world of painting, a primer serves as the foundation for a flawless finish. Applying a high-quality primer to your walls before painting enhances adhesion and helps the paint color appear more vibrant. A primer also provides a consistent surface, especially if you’re transitioning from dark to light colors or dealing with porous surfaces.
Step 6: The Brushstrokes of Painting
With the canvas prepared, it’s time for the brushstrokes of painting. Whether you’ve hired a professional painter or taken up the task yourself, apply the paint with smooth and even strokes. Start from the top and work your way down, ensuring an even distribution of paint and avoiding drips or streaks. Multiple thin coats are often better than one thick coat, ensuring a professional and long-lasting finish.
Step 7: The Final Flourish of Paint job
As the paint dries, remove the painter’s tape carefully, ensuring that the paint doesn’t peel off with it. Inspect your work for any touch-ups needed, and address them promptly. Once you are satisfied with the result, stand back and admire the masterpiece you have created – a beautifully painted home that radiates with elegance and charm.
Preparing your home for a professional paint job is an art in itself, laying the foundation for a flawless and lasting finish. Just as an artist’s preparation is vital to the success of their masterpiece, your attention to detail and thoroughness in the preparation process will yield a beautifully painted canvas that showcases the beauty of your living space. Embrace each step of this artistic journey, and your home will become a stunning work of art that speaks volumes about your care and appreciation for the aesthetics of life.
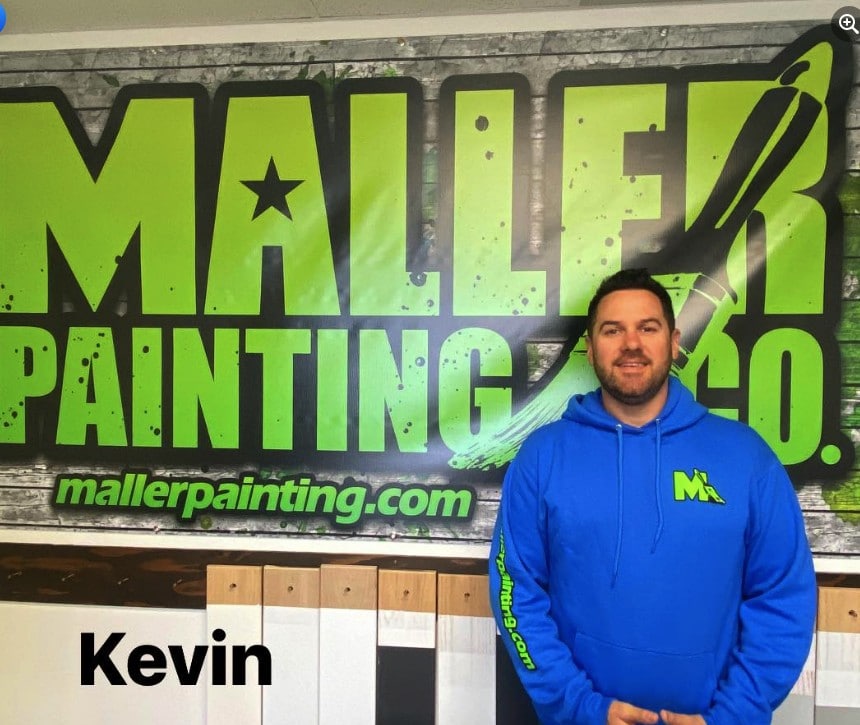
Kevin began painting houses with his father’s company, C&K Painting, in 1996. His father taught him how to use a brush, roller, and caulk and clean a brush properly. He then worked for several other paint companies, where he learned how to spray oils, lacquers, and all water-based finishes. In 2012, after 15 years of experience, he decided to get licensed and start the Maller Painting Company. His team has focused on providing the best re-painting services to our residential clients in the Beaverton area.
