
The Art of Color Selection: Tips for Choosing the Perfect Paint Palette
July 15, 2023
Top 5 Trending Interior Paint Colors for 2023
September 13, 2023
In the art of home improvement, caulking holds a prominent place as the masterstroke that brings perfection to every project. Often overlooked, this humble yet essential skill is the key to creating seamless surfaces, impeccable joints, and a professional finish that stands the test of time. Just as a skilled artist pays meticulous attention to every brushstroke, caulking requires precision, finesse, and an eye for detail. Today, we unveil the secrets of caulking mastery, empowering you to elevate your DIY projects to the realm of true artistry.
The Palette of Caulk: Choosing the Right Caulking Material
Before delving into the art of caulking, it is crucial to select the right caulk for the canvas of your project. Caulks come in various formulations, each designed for specific applications and surfaces. Acrylic latex caulk is versatile and best suited for interior projects, while silicone caulk reigns supreme in areas exposed to moisture, such as bathrooms and kitchens. For outdoor projects or high-movement joints, consider using a flexible, weather-resistant polyurethane caulk.
Preparation: The Foundation of a Flawless Finish
Just as an artist primes their canvas, proper preparation is the foundation for a flawless caulking finish. Clean the surface of any dust, debris, or old caulk residue, ensuring a smooth canvas for your caulk strokes. Use a caulk softener or remover to eliminate old caulk, allowing your new caulk to adhere firmly to the surface.
The Artist’s Touch: Mastering the Caulking Technique
Now comes the essence of caulking mastery – the technique. A steady hand, patience, and precision are your allies in this endeavor. Hold the caulk gun at a 45-degree angle, applying consistent pressure to create a smooth and even bead of caulk. Move the gun smoothly along the joint or surface, maintaining a constant pace to achieve a uniform application.
To ensure a professional finish, always use a caulk smoothing tool or your finger to smooth the caulk immediately after application. This not only ensures an even finish but also helps to remove any excess caulk, leaving behind clean lines and seamless edges.
Sealing the Deal: Achieving Durability and Longevity
A masterpiece is timeless, and the same principle applies to caulking. To ensure the longevity of your caulk work, allow it ample time to cure before subjecting it to moisture or movement. Read the manufacturer’s instructions for the recommended curing time, as this can vary based on the type of caulk used.
Additionally, for areas prone to water exposure, such as bathrooms or kitchens, consider applying a mildew-resistant caulk. This will not only enhance the appearance but also protect your project from unsightly mold or mildew growth.
Clean-Up: The Final Flourish
Just as an artist tidies up their workspace, completing the caulking process demands attention to detail during clean-up. Use a damp cloth or sponge to wipe away any excess caulk, leaving behind a pristine and professional surface.
Caulking is an art form that unifies and elevates the aesthetics and functionality of any home improvement project. As you embark on your caulking journey, remember that the right caulk, thorough preparation, and mastering the technique are the brushes and colors in your arsenal. Patience and precision are the guiding principles of this art, ensuring that every stroke of caulk delivers a professional finish that will stand the test of time.
Embrace the secrets of caulking mastery, and transform your DIY projects into breathtaking works of art that enrich your living space and leave a lasting impression on all who behold them. With every caulk bead laid, you unleash the potential for beauty, durability, and perfection that exemplify the art of caulking at its finest.
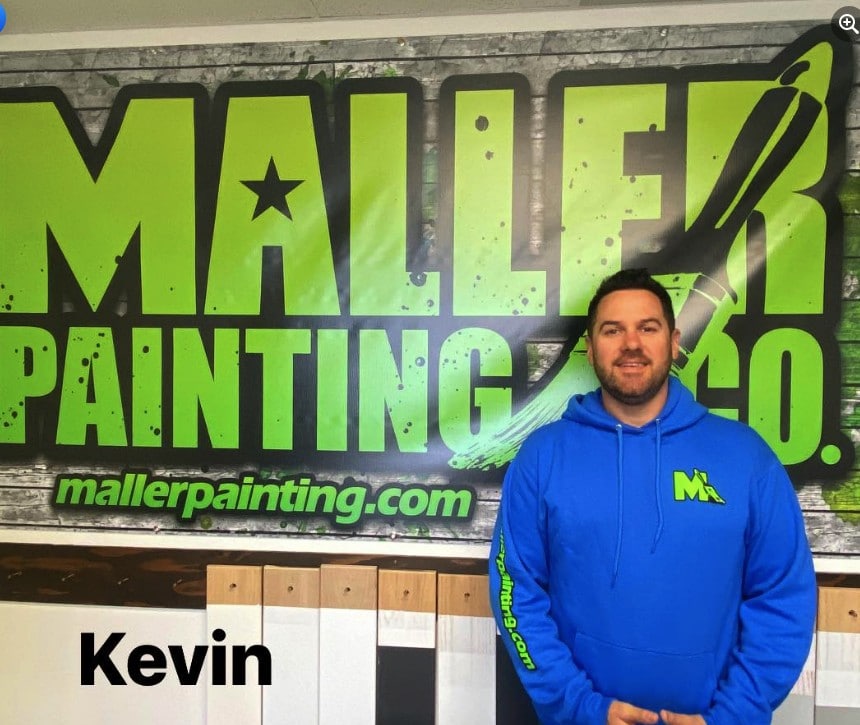
Kevin began painting houses with his father’s company, C&K Painting, in 1996. His father taught him how to use a brush, roller, and caulk and clean a brush properly. He then worked for several other paint companies, where he learned how to spray oils, lacquers, and all water-based finishes. In 2012, after 15 years of experience, he decided to get licensed and start the Maller Painting Company. His team has focused on providing the best re-painting services to our residential clients in the Beaverton area.
