
The Right Finish: Understanding Matte, Satin, Semi-Gloss, High-Gloss Paints
January 29, 2024
Interior Painting Delight: Getting Your Home Holiday-Ready
February 12, 2024
The journey of refreshing your home’s exterior is an artistic endeavor that breathes new life, beauty, and charm into your living space. Join us on this creative voyage as we explore the art of preparation and painting, unlocking the transformative power that turns your house into a captivating work of art.
Step 1: Assessing the Canvas
Inspect your home’s exterior for any signs of wear, peeling paint, cracks, or damage. Addressing these issues before painting ensures a smooth and flawless finish, providing a clean canvas for the transformative power of paint to work its magic.
Step 2: Cleaning the Palette
A clean canvas is vital for an artist, and the same holds true for your home’s exterior. Washing away dirt, grime, and mildew not only improves the appearance but also enhances paint adhesion. Utilize a power washer or a simple mixture of mild detergent and water to cleanse your home’s exterior.
Step 3: Repairing Imperfections
Repairing flaws in your home’s exterior is crucial for a professional and lasting finish. Fill in any cracks or holes with exterior-grade caulk or filler, ensuring a seamless surface. Sand down rough patches and edges to create a smooth and even canvas for the paint.
Step 4: Selecting the Color Palette
The color palette sets the tone for the entire project, whether you opt for bold and vibrant hues, soothing neutrals, or a combination of both to create a dynamic and welcoming façade. Consider the architectural style of your home, the surrounding landscape, and your personal aesthetic preferences.
Step 5: Priming the Canvas
Applying a high-quality exterior primer ensures better paint adhesion, enhances the paint’s true color, and provides a protective layer for your home. Priming is especially essential when transitioning from dark to light colors or dealing with porous surfaces.
Step 6: The Brushstrokes of Painting
Depending on your home’s exterior and your color choices, you may use brushes, rollers, or sprayers to apply the paint. Take your time, apply even strokes, and ensure complete coverage to create a flawless and stunning finish.
Step 7: The Final Flourish
Remove any painter’s tape carefully, ensuring clean lines. Inspect your work for any touch-ups needed and make the necessary adjustments. Step back and admire the masterpiece you have created – a refreshed and captivating exterior that speaks of your attention to detail and artistic flair.
Prep and paint, like an artist’s canvas and brush, are the tools that allow you to breathe new life into your home’s exterior. The art of preparation sets the stage for the transformative power of paint, creating a stunning and lasting result. As you embark on this creative journey, remember that refreshing your home’s exterior is not just a renovation; it is an expression of your style, taste, and love for your living space.
Embrace the artistry of prep and paint, and let your home’s exterior become a work of art that radiates beauty, charm, and your personal touch. With each brushstroke and every stroke of color, your refreshed exterior will captivate hearts and invite admiration from all who behold its splendor. Step into the world of artistic transformation, and watch as your home’s exterior blossoms into a captivating masterpiece that welcomes you home with open arms.
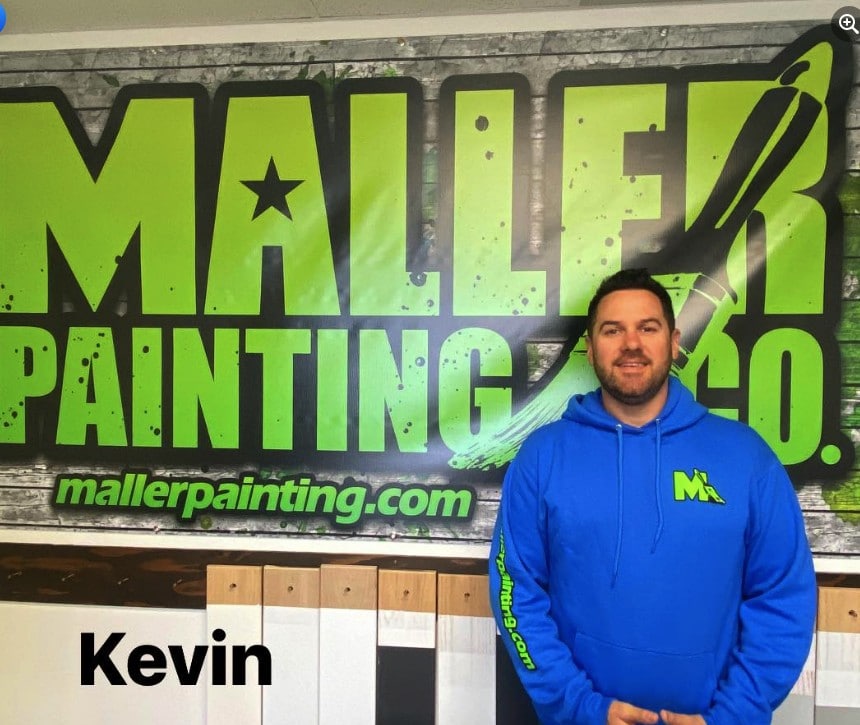
Kevin began painting houses with his father’s company, C&K Painting, in 1996. His father taught him how to use a brush, roller, and caulk and clean a brush properly. He then worked for several other paint companies, where he learned how to spray oils, lacquers, and all water-based finishes. In 2012, after 15 years of experience, he decided to get licensed and start the Maller Painting Company. His team has focused on providing the best re-painting services to our residential clients in the Beaverton area.
