
Interior Home Painting Sherwood, OR: How to Create an Accent Wall
November 6, 2019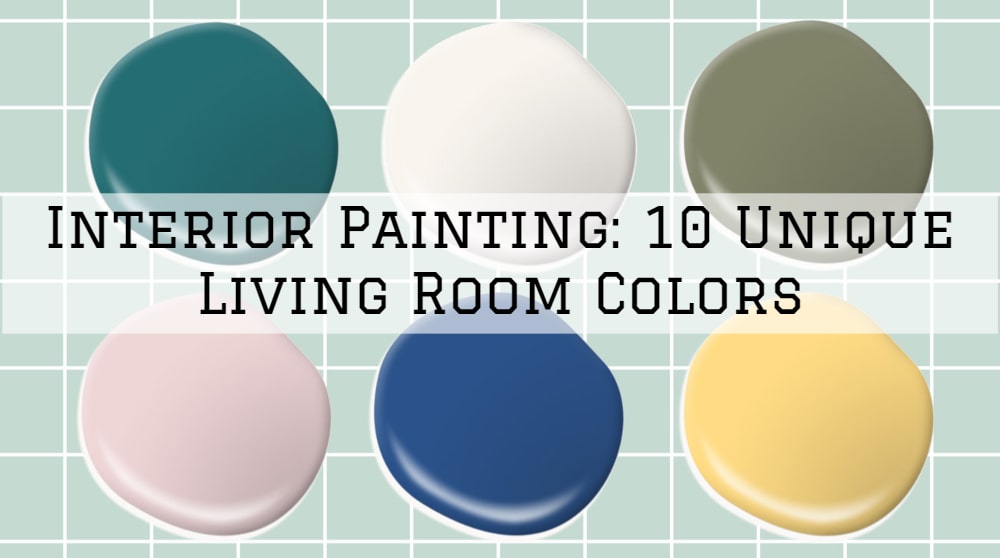
Interior Painting, Tigard, Oregon: 10 Unique Living Room Colors
December 6, 2019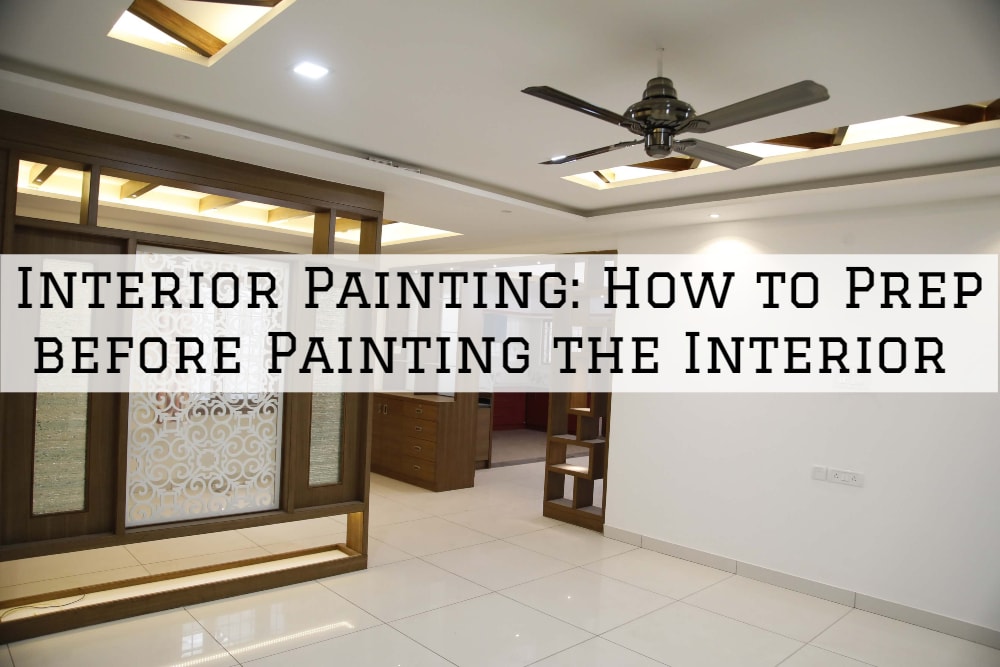
Interior Painting, Tigard, Oregon: How to Prep before Painting the Interior
Painting the interior of your home in Tigard, Oregon, can turn into a tediously long process unless proper preparations are done.
Some of the most important steps you need to take include covering your flow, repairing your walls and moving furniture. You may also need to apply a primer depending on color transition and the condition of your walls.
Here is a detailed look at what is required for interior home painting prep;
Protect Other Surfaces and Items
Before you start painting, you must protect the floor and furniture in the room. Cover the floor with a protective cloth. Also, cover furniture and valuables or move them. You can group the furniture in the center of the room and cava them with a plastic sheet.
Do not put brushes, paint cans, or paint trays on the floor or other unprotected surfaces.
Use masking tape.
Lay it along the edges of the walls. It can be challenging to paint in a straight line. If this is the first time you’re painting, it is advisable to stick a blue masking tape along the edges of the walls, baseboards, and moldings.
Mix the paint or primer.
Before applying the primer or paint to the wall, you must mix the product with a wooden stick so that the pigments are evenly distributed.
Never shake a can of paint, as you may drop dried paint flakes from the lid and mix them with the fresh paint.
Prepare the walls.
It will be easier to get a professional result on a smooth and even surface. Take the time to look for any imperfections and fix them before you start painting.
• Seal holes or cracks with fillers for plaster walls and mortar for plasterboard walls. Apply the product with a putty knife and let it dry according to the directions for use.
• Sand the repaired or uneven surfaces with 220 grit sandpaper. Vacuum or use a cloth to remove dust when finished.
Apply Primer
Fill A Tray –Pour primer into a paint tray. Do not fill it so that the primer covers the ridged portion. 3 or 4 cm of the product is enough.
You can put an inexpensive disposable protector in the tray to avoid having to use multiple trays.
You may only need to apply the primer on plasterboard or wood surfaces. The product should be allowed to dry for one day before painting over it.
Cover The Edges Of The Walls –Dip a brush into the primer and apply a straight line along one of the outer edges of the wall. Apply the product on the edges in small sections and work slowly.
Try to make a line as straight and regular as possible. It may be necessary to return to a line once or twice to be regular.
Try to apply a strip of primer about 10 cm wide along the outside edge of the wall. That will make it easier to cover the rest of the wall afterward.
Use a roller –Put a paint roller in the bin containing the primer and roll it back and forth a few times. It must be covered with a thick and homogeneous primer, but the primer must not flow from the roller when you take it out of the tray.
You could use a roller with a telescopic handle instead of a stepladder to reach the top of the wall.
If you need professional help repainting your home interior, our team at Maller Painting can help.
We have years of residential painting experience serving the areas of Beaverton, Sherwood, and Tigard, Oregon. To give us a try, book a FREE estimate below or call us on (503) 410-6366 for more details.
Kevin began painting houses with his father’s company, C&K Painting, in 1996. His father taught him how to use a brush, roller, and caulk and clean a brush properly. He then worked for several other paint companies, where he learned how to spray oils, lacquers, and all water-based finishes. In 2012, after 15 years of experience, he decided to get licensed and start the Maller Painting Company. His team has focused on providing the best re-painting services to our residential clients in the Beaverton area.
